Deploy Your Shiny App on Google Cloud Platform
In this blog post, we’ll guide you through deploying a Shiny app to production using Google Cloud Platform (GCP), leveraging services that are part of GCP’s free tier. Specifically, we’ll use Cloud Run and Artifact Registry, both of which offer generous free-tier allocations, allowing you to deploy and run your app at no cost, depending on your usage.
For this tutorial, we’ll use a simple dockerized Shiny app called everysinglecountry, which interacts with public APIs. This app doesn’t require a backend, database, or authentication, as we’ll cover these topics in future tutorials. If you’re interested in expanding your app with these features, stay tuned!
By the end of this tutorial, you’ll have your Shiny app running on GCP’s scalable infrastructure—completely within the free-tier limits.
Prerequisites
Before we get started, ensure you have the following:
Steps Overview
- Enable the “Artifact Registry API” and “Cloud Run” services.
- Push your Docker image to Google Artifact Registry.
- Deploy the image to Cloud Run for production.
Let’s Get Started
Open a terminal and navigate to the directory where your Shiny app is located:
$ cd ~/Projects/everysinglecountry/Ensure that your Docker image is working as expected by running it locally. Visit http://localhost:8080 in your browser to test the app.
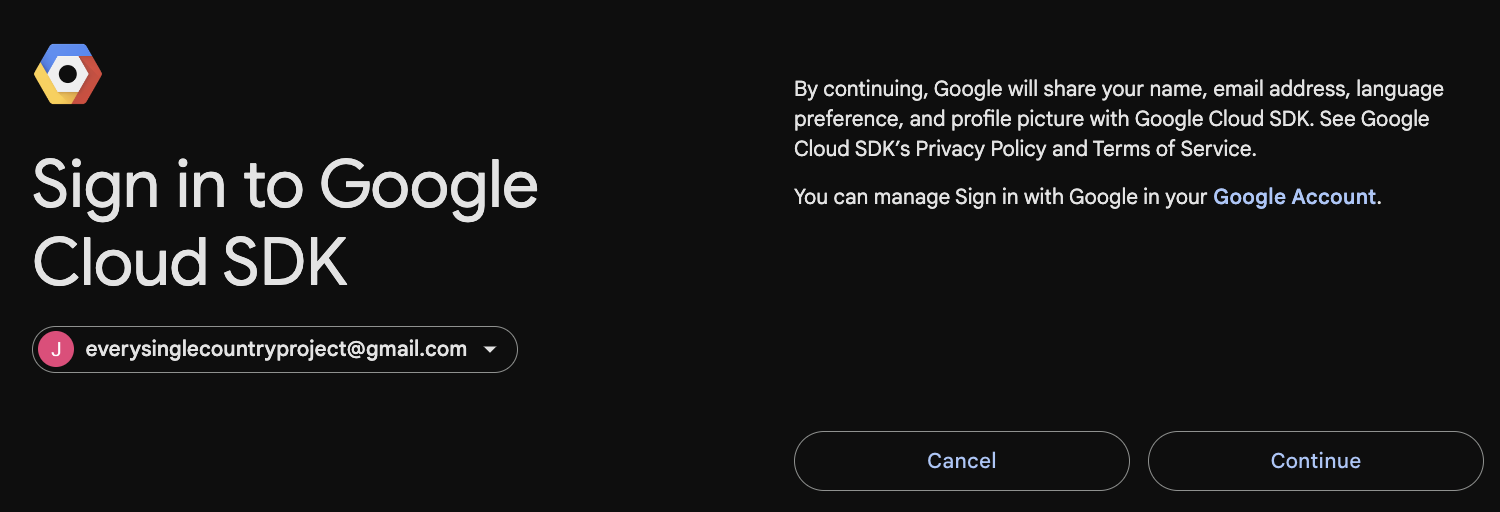
$ docker run -p 8080:8080 everysinglecountryLog in to your GCP account using the following command. This will open a browser window where you must select the appropriate account for your project:
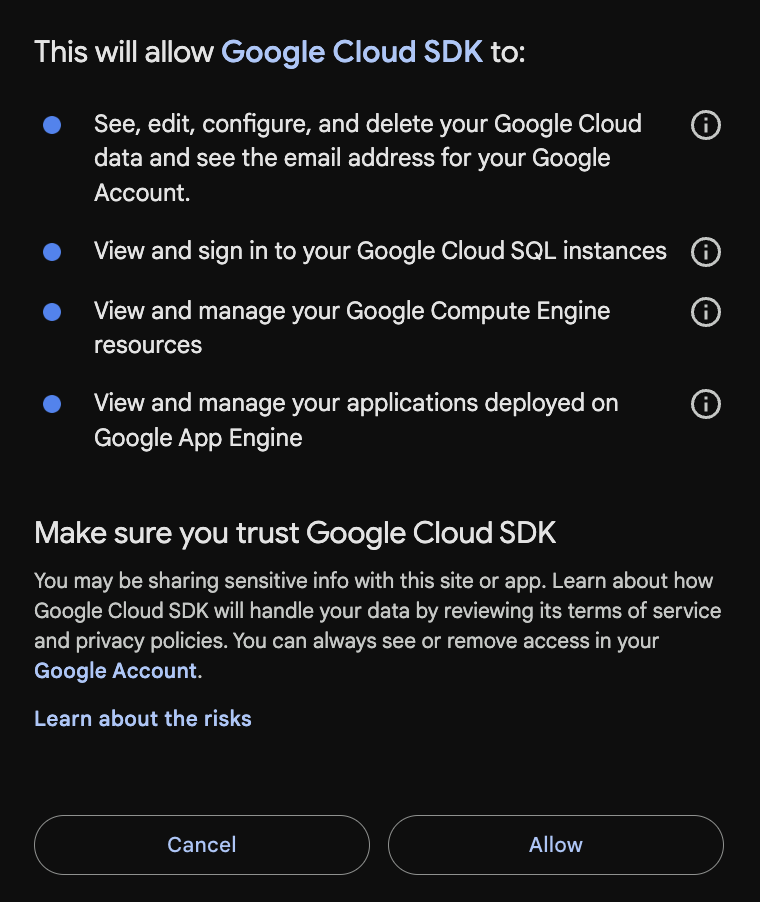
$ gcloud auth login- Select your GCP account.

- Click “Continue”.

- Click “Allow” to grant the necessary permissions.

Initialize the GCP account. Select the appropriate account and project (e.g., everysinglecountryproject@gmail.com and every-single-country respectively).
$ gcloud initEnable the “Artifact Registry” service so you can push your Docker image:
$ gcloud services enable artifactregistry.googleapis.comAuthenticate Docker to work with Google Artifact Registry:
$ gcloud auth configure-dockerTag your Docker image and push it to Artifact Registry:
$ docker tag everysinglecountry gcr.io/every-single-country/everysinglecountry
$ docker push gcr.io/every-single-country/everysinglecountry
Enable the “Cloud Run” service to allow deployment of your Docker image:
$ gcloud services enable run.googleapis.comNow, deploy the Docker image to Cloud Run. The --platform managed flag specifies that we’re using the fully managed version of Cloud Run. The --region us-central1 flag sets the region (I chose us-central1 because it works with Cloud Run Domain Mappings), and the --allow-unauthenticated flag makes the app accessible without authentication.
$ gcloud run deploy everysinglecountry \
  --image gcr.io/every-single-country/everysinglecountry:latest \
  --platform managed \
  --region us-central1 \
  --max-instances 1 \
  --allow-unauthenticated
Once the deployment is complete, Cloud Run will provide a “Service URL”. Open the URL in your browser to access your Shiny app, which is now publicly available.

In our example, you can test the deployed app at https://everysinglecountry-122108936732.us-central1.run.app/.

Conclusion
Congratulations! You’ve successfully deployed your Shiny app on Google Cloud Platform using Cloud Run. In the next post, we’ll dive into deploying Shiny apps with backend functions via Plumber RESTful APIs and discuss integrating databases for dynamic app functionality.